New Year’s greetings to fellow artmakers and art-lovers.
I decided to begin the year with a just-for-fun project. This idea is not unique to me; I have seen many artists’ demos and online posts doing this over the years. But it was the first I’d given it a try.
The project: divide up your surface into equal-sized squares or rectangles, divisions made with masking tape. Then paint over the whole piece, using whatever surface design methods you like. After that, remove the masking tape to see what’s revealed in the individual sections.
This can be done on fabric or paper. I decided to work on watercolor paper to create pieces to make handmade note cards, 5” x 7” size.
This could also be a way to discover spontaneous mini-compositions in each section, or to create a batch of same-but-different sections to sew together (or add to other pieces) to create a larger finished piece.
Lots of possibilities. Here we go:
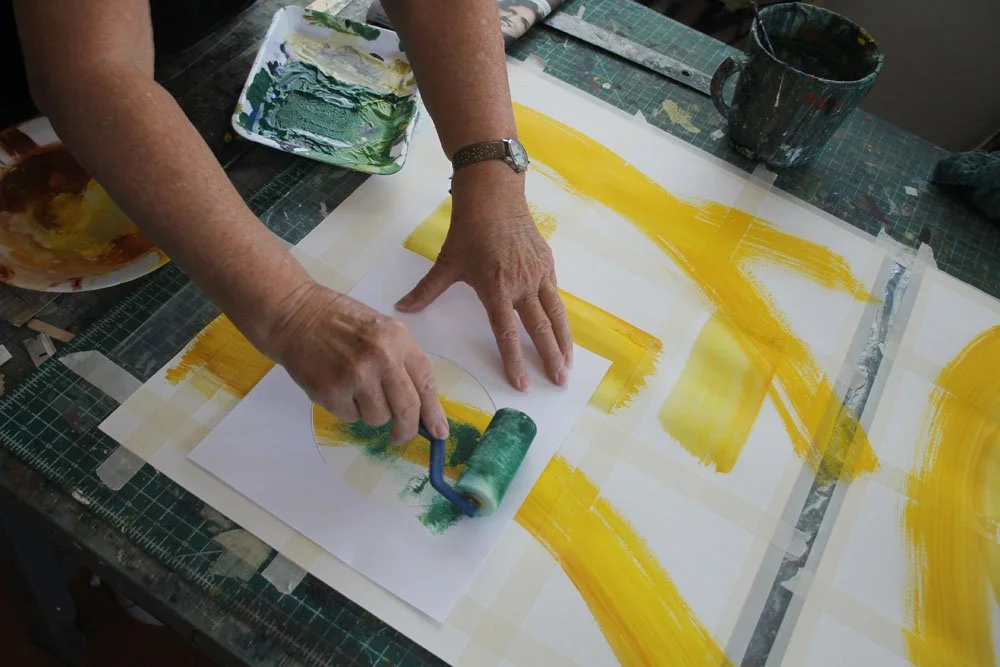
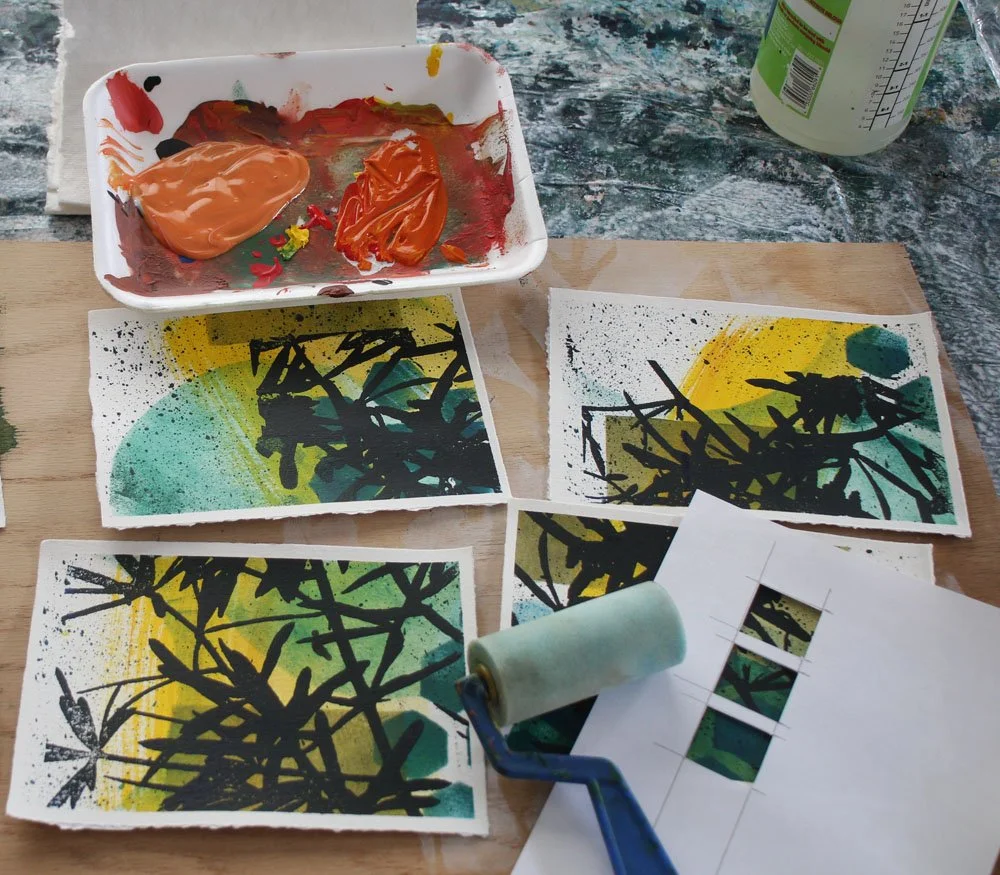
Step 1: Fast and furious wet wash strokes randomly over the whole piece

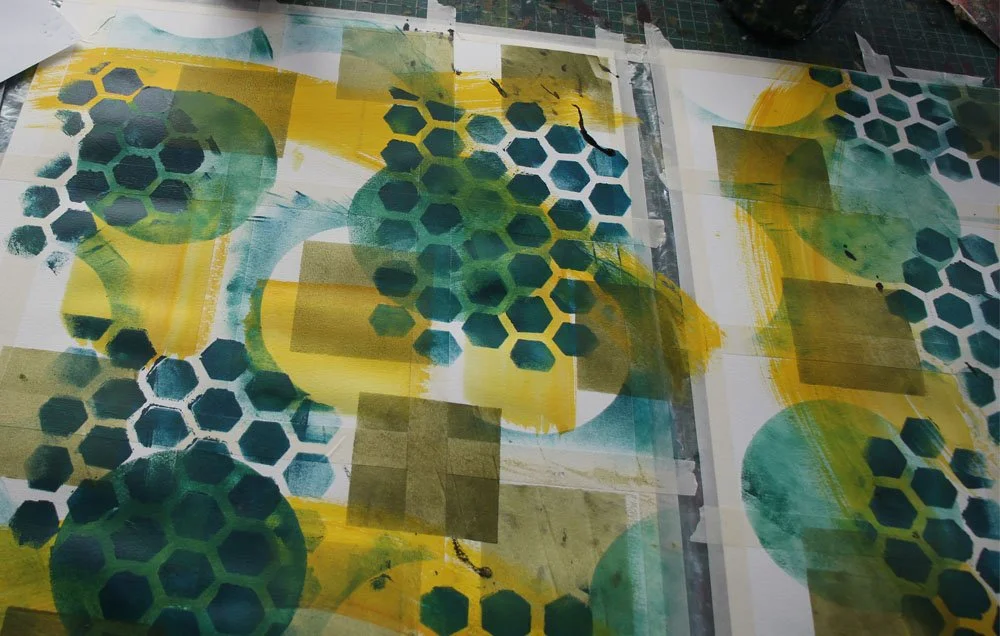
Step 2: I stenciled a deeper, contrasting color over the background wash. In this case, I used a big circle. Place it randomly over the piece so the shape appears in segments inside the finished rectangles.
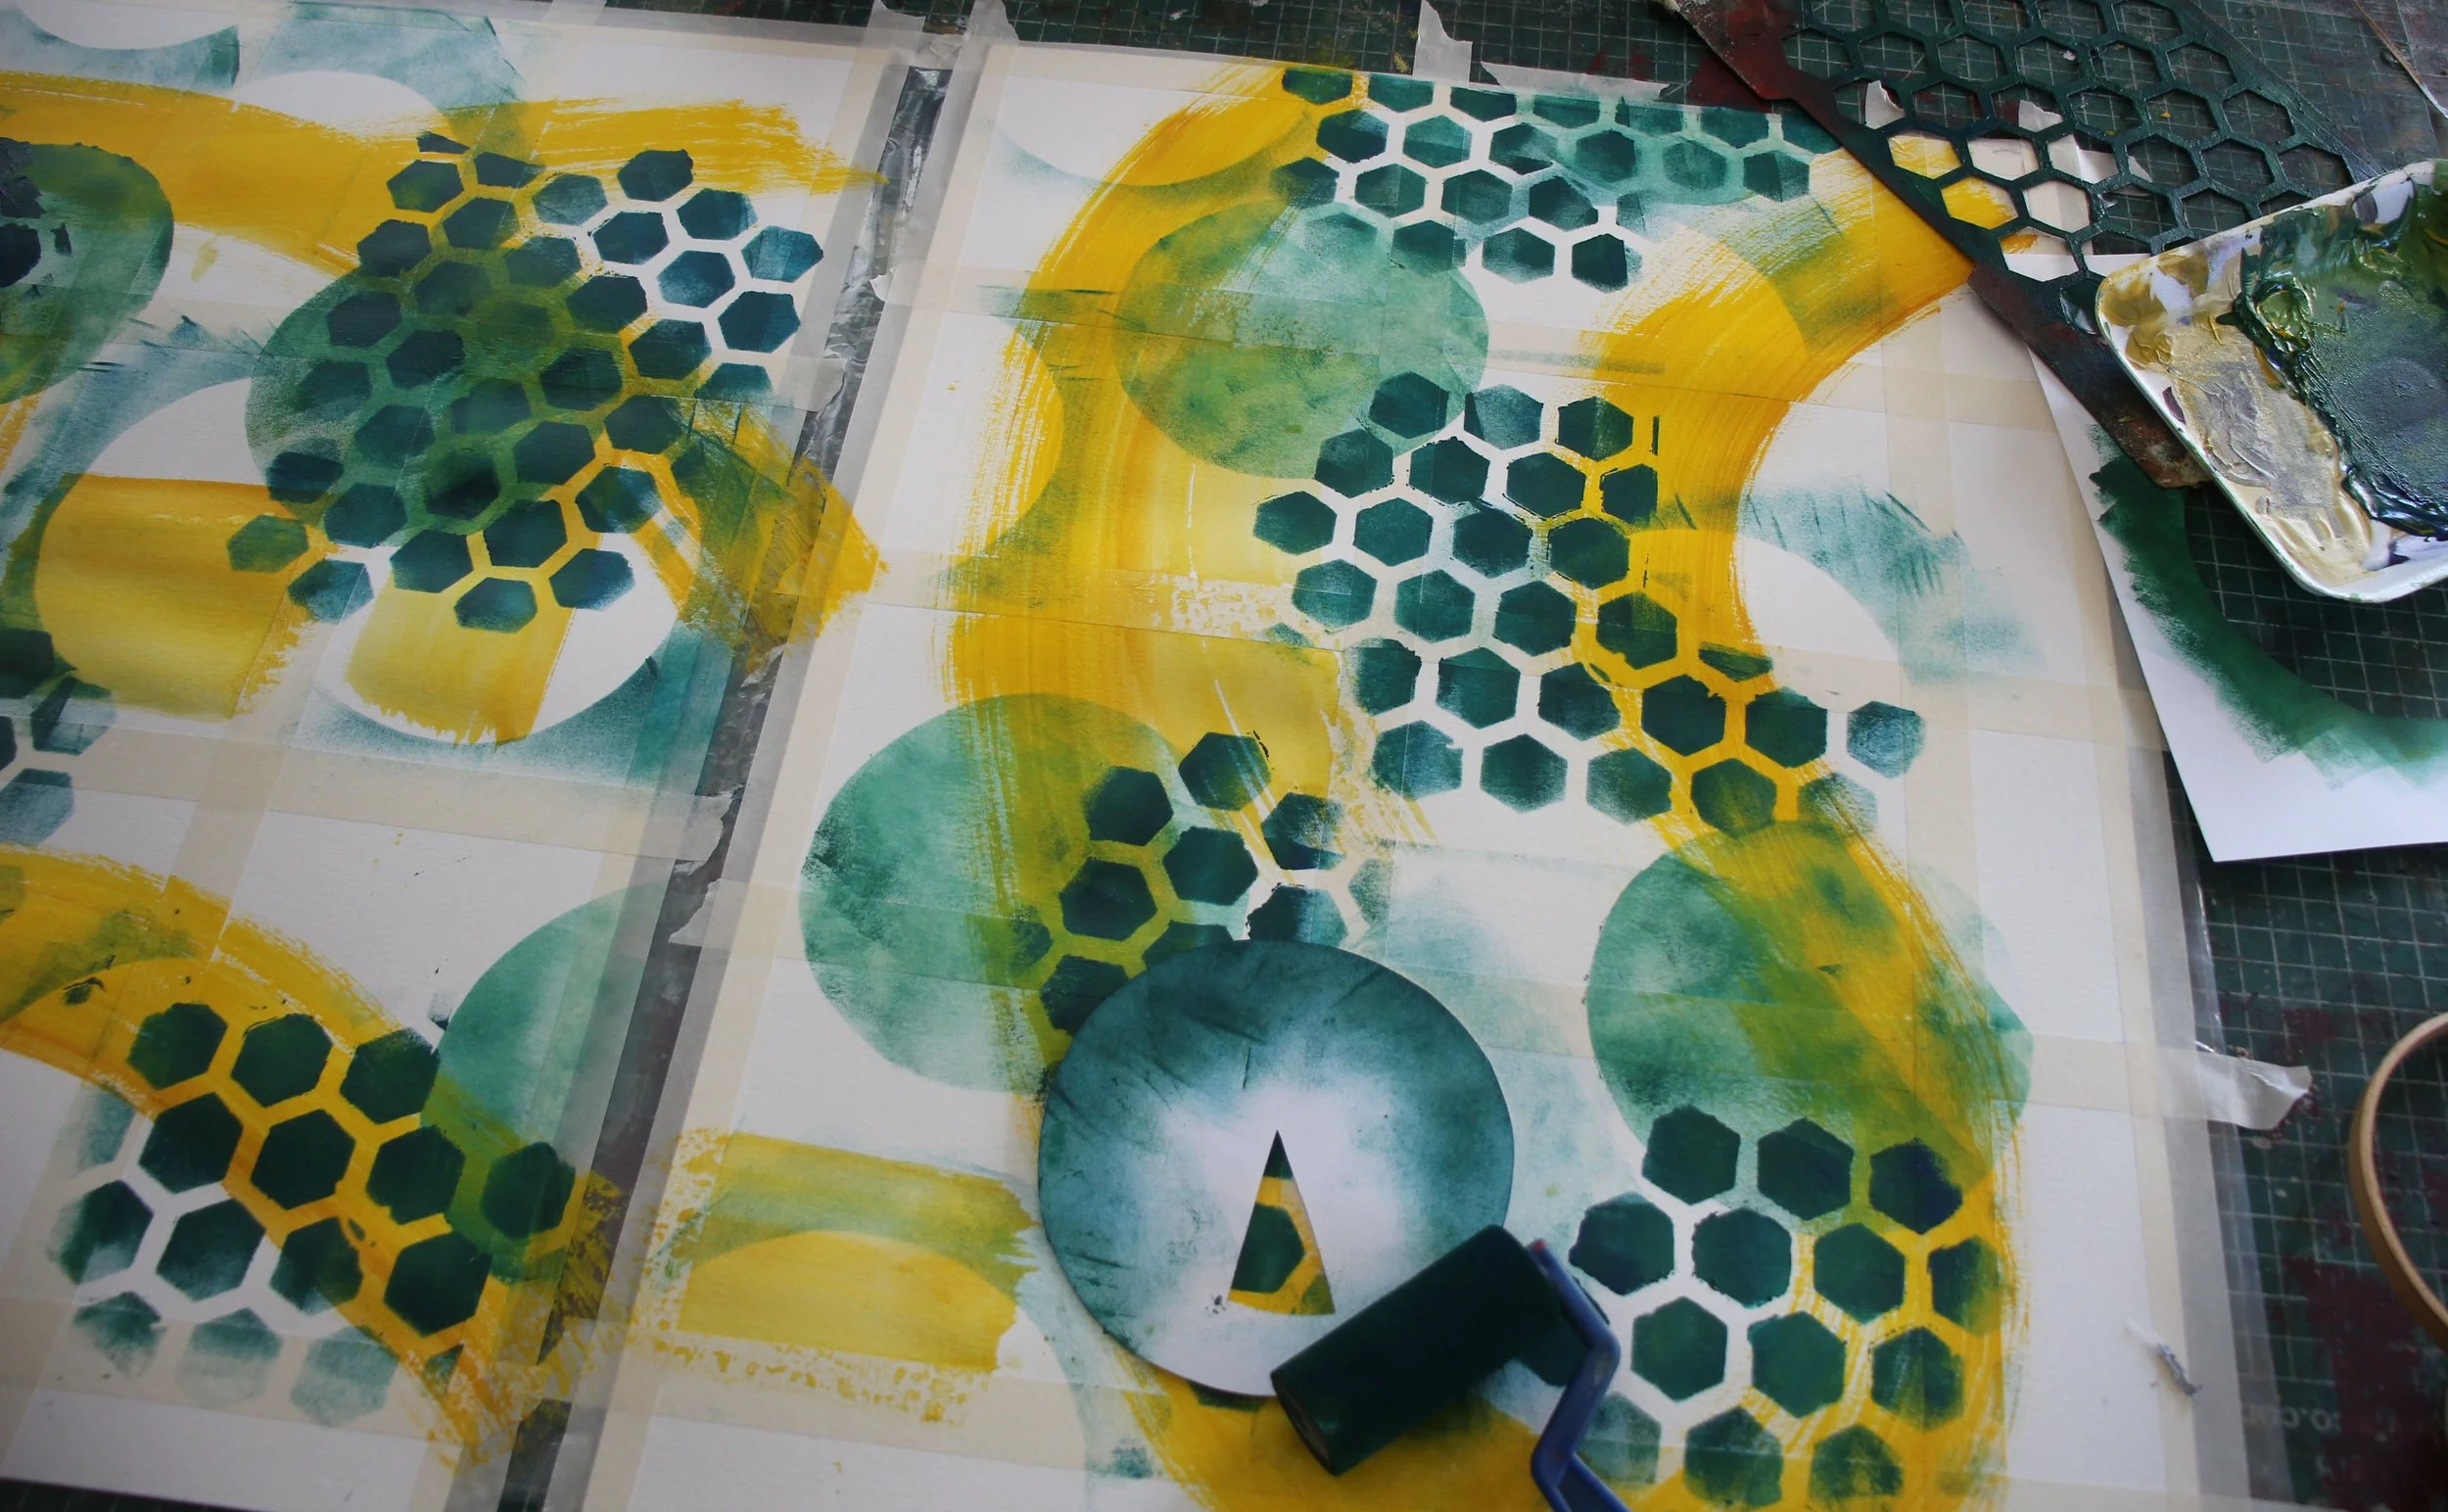
Step 3: More stenciling. I picked a smaller shape, the honeycomb, and a deeper color. Note that behind the honeycomb, I used the large circle as both a positive and negative stencil. (i.e. I rolled paint inside the circle cut out to create circles, and I also rolled around the outside of the circle I cut out to let circle shape show as a negative shape.)
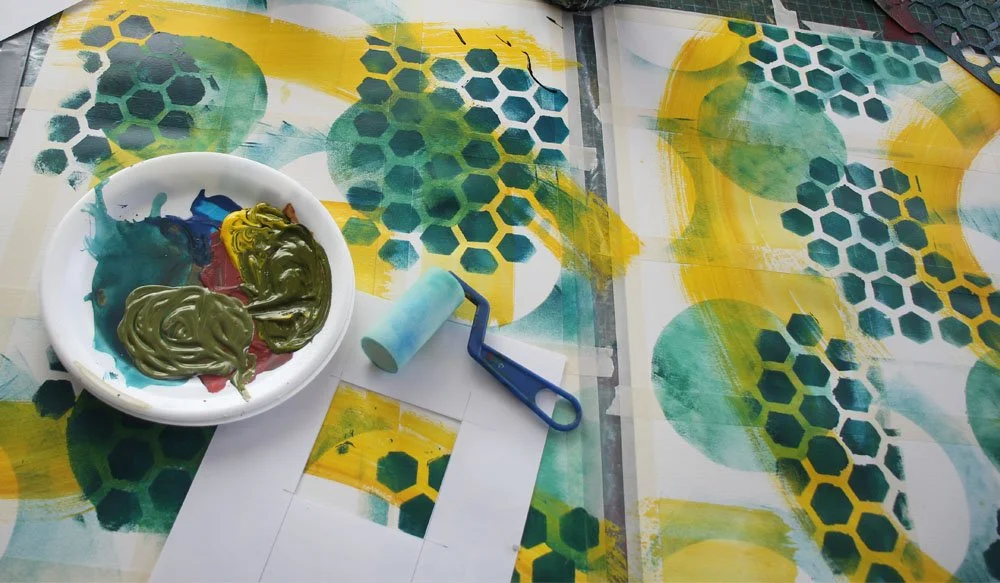
Step 4: Adding a deeper, neutral color in blocks. I wanted to tone this down a bit. So, I mixed up some olive green and cut a simple square stencil to apply it randomly.
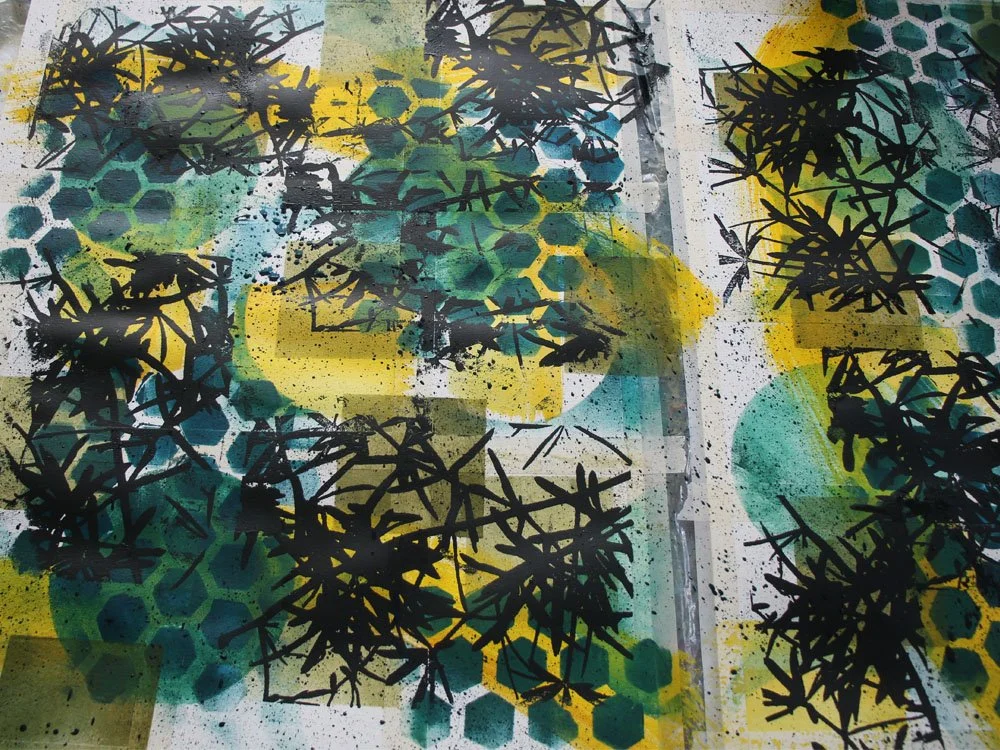
Step 5: Add the final color, the deepest foreground image, as a silkscreen. This plant-based shape is a screen I had. I confess, after I did it I thought it was too overwhelming. But no going back. (And, I’m surprised that it works well on the final cards.)
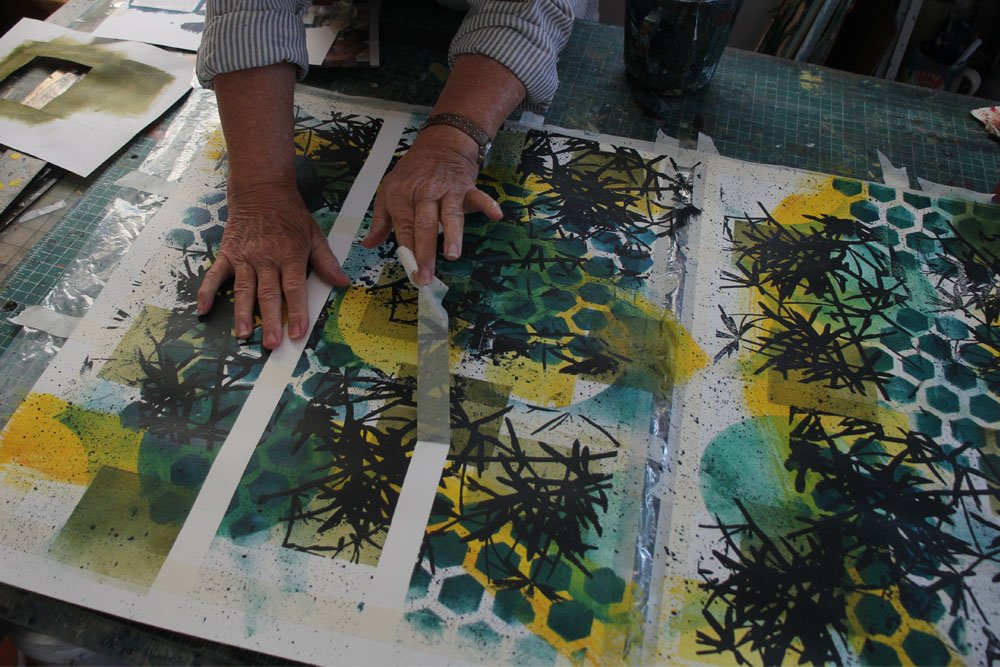
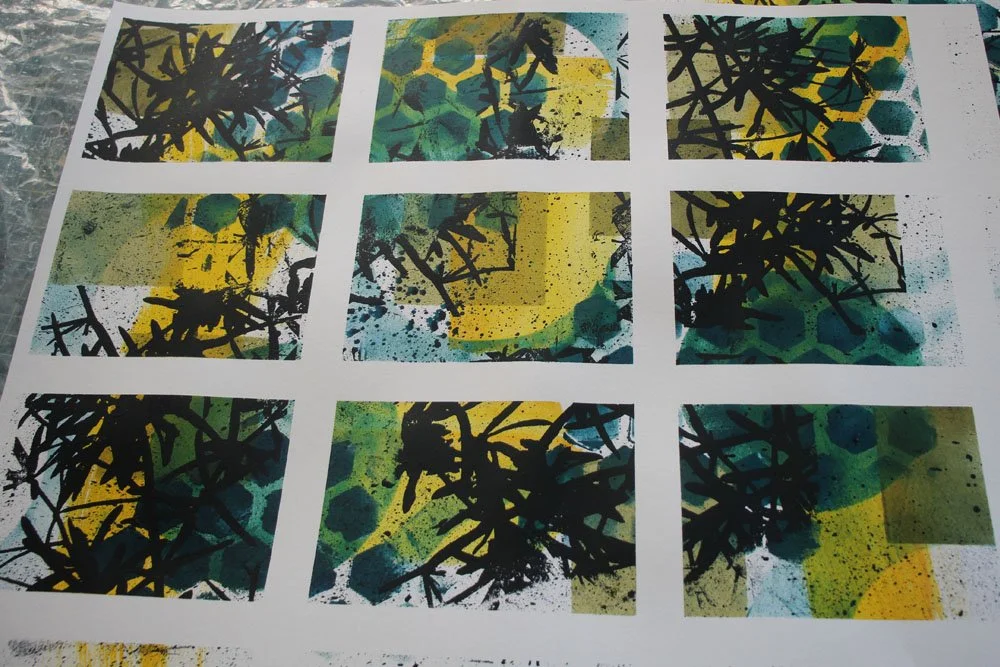
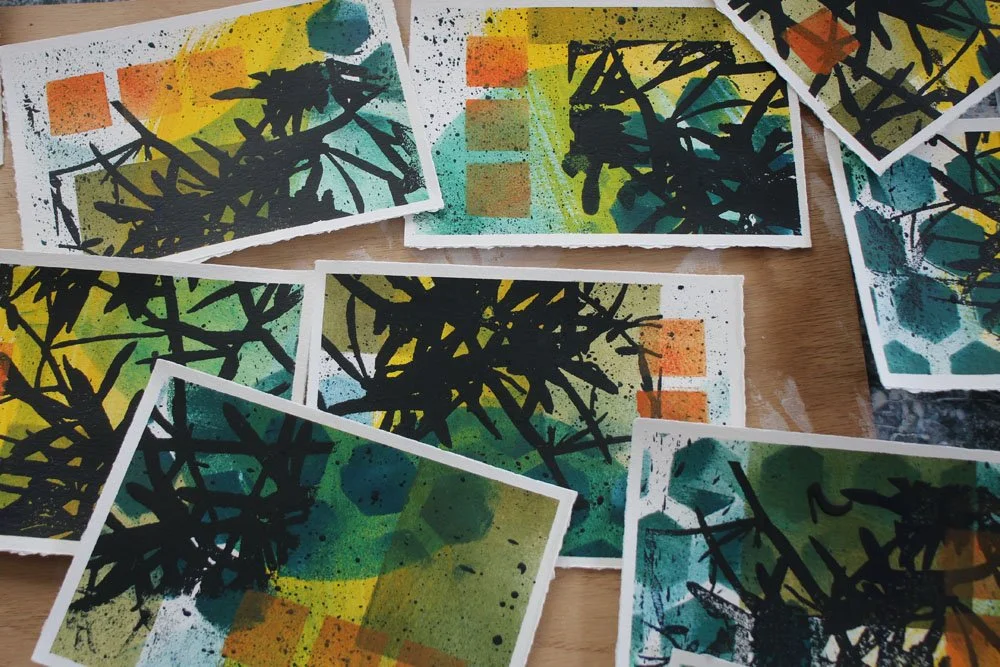
Step 6: Remove the tape. Take a look at what you’ve got.
A note about stencils: If you have tried using masking tape or a hand-cut stencil with paint, and you’ve been disappointed that you did not get a crisp edge, there are two probable causes. First, your paint was too wet and it seeped under the edge of the stencil. Second, you may be using too much paint. When I stencil with a foam roller I roll a LOT of the paint off onto a scrap before painting over the stencil shape. This is true both for paper and fabric. Finally, try to pull your roller or paint brush away from the edge of the stencil as you paint. You don’t want to be pushing the paint under the tape or stencil edge
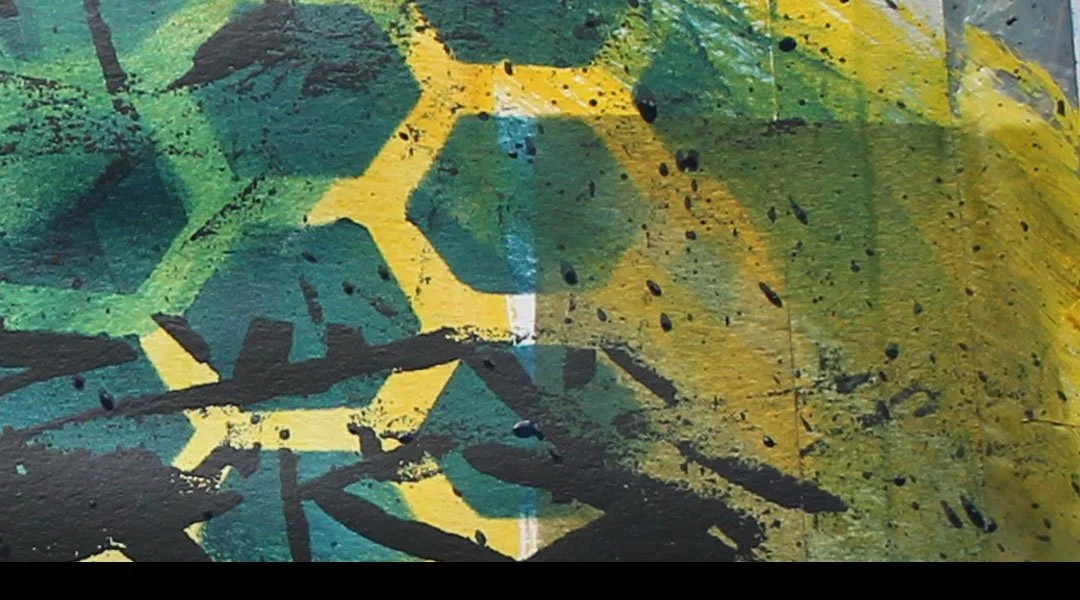
Step 7: Finishing touches: Here are the notecards, cut apart, after completing all the steps above. I then added a splash of orange to each one, finding the place that was right in each composition individually.
Now I am ready-to-roll when I want to send a hand-written note.
You may remember last week, when my thoughts for the new year were to avoid making resolutions but to embrace gifts to yourself. My desire to send more hand-written notes to friends or acquaintances is a gift I want to give to myself. There are few things you can do that can have as much impact for the recipient. A simple touch of thoughtfulness, condolence or thanks can be very meaningful. So, I look forward to having my note cards ready and to using them.
I was touched and grateful to the many responses to last week’s post. I believe we all want to better humans and better artists but also know that gritting our teeth and chastising ourselves seldom accomplishes what we want. I especially loved this response from a wise reader in Canada. With gratitude, I share it here, with my best wishes to all:
“Gifting to yourself sounds like a great plan as most of us don’t appreciate ourselves. We just get on with what life throws at us as we tend to assume that we are expected to do so. Taking time to pause, draw a breath, and reflect on all of the wonderful things we have accomplished whether minor or major should be a part of our self care every day. We deserve it. Even if things don’t go as planned at least we tried.”
-S artist
. . . . . . . . . .
EXHIBITS AND COMING EVENTS
In Ormond Beach, Florida . . . TRIO
through March 1, 2026 at Ormond Memorial Museum of Art
My work, Three Yellow Doors, is part of this SAQA juried regional exhibit
In Lewiston, Idaho . . . SAQA GLOBAL – PRIMAL FORCES: FIRE
January 6 – March 28, 2026 at Lewis & Clark State College
My work, Nothing Remains But the Loss, is part of this SAQA juried Global exhibit
In DeLand, Florida . . . A SENSE OF PLACE
January 8 – March 30, 2026 City Commission Chambers, DeLand City Hall
My work, Escape to Quiet Waters, is part of this exhibition
by ArtsEtc Surface Design Group
STUDIO TOUR – IN DELAND, FLORIDA
Saturday and Sunday, March 7-8 2026 10am – 5pm
Visit local artists’ studios and see how they work. Information about the artists
and map of studio locations: www.artstours.org
Thank you for reading. I always enjoy questions and comments.
--Bobbi
bobbi@bobbibaughstudio.com