The finish line is almost in sight . . . I can actually see it from here!
Here, on my worktable, is the large tree-pattern quilt I’ve been working on and writing about for a while now.
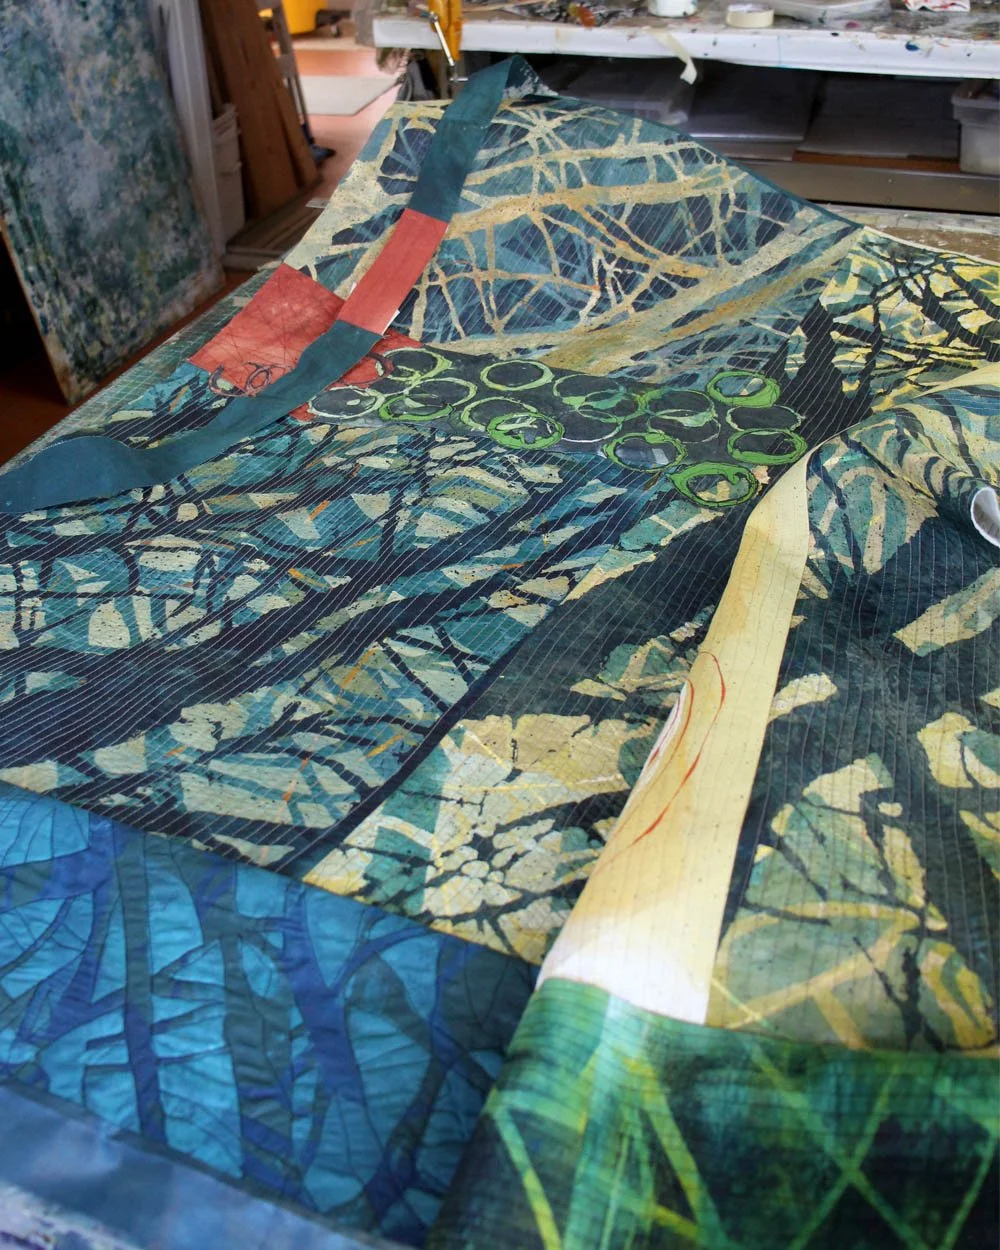
As you can see, this is an example of the artistic vision winning out over practicality. The work is finishing up at about 52” x 58” – just a tad too big to fit on my worktable. Through most of the process I was working in sections. Now that it’s constructed I just have to figure out ways to deal with it.
(I have a few plywood pieces I can slide under the cutting mat that’s on the worktable surface; they function like leaves in the dining room table for Thanksgiving when all the cousins arrive.)
This weekend I’ve been working on binding and backing.
I bind my quilt edges in different ways. Lately, I have been drawn to a simple fabric strip binding that’s sewn on right sides together and turned so it is visible about ¼” on the front. I like the architecture this provides.
While it serves a finishing function, I want it to be part of the visual communication of the quilt too.
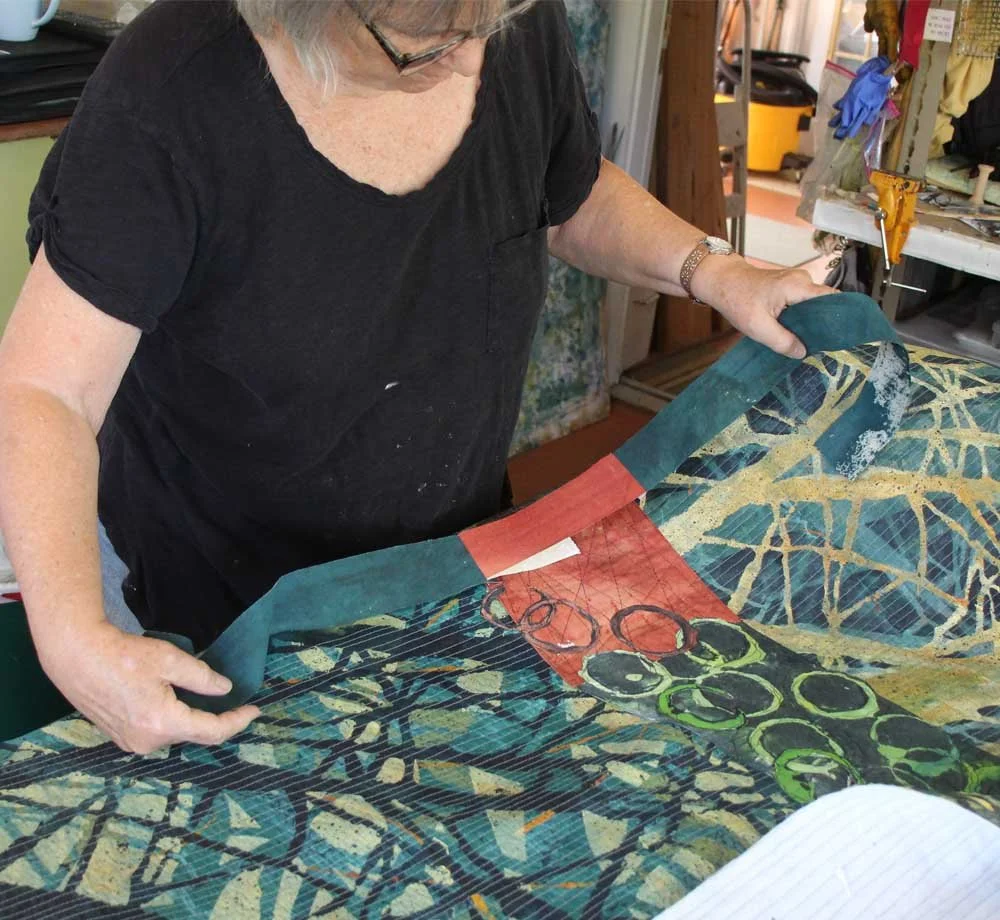
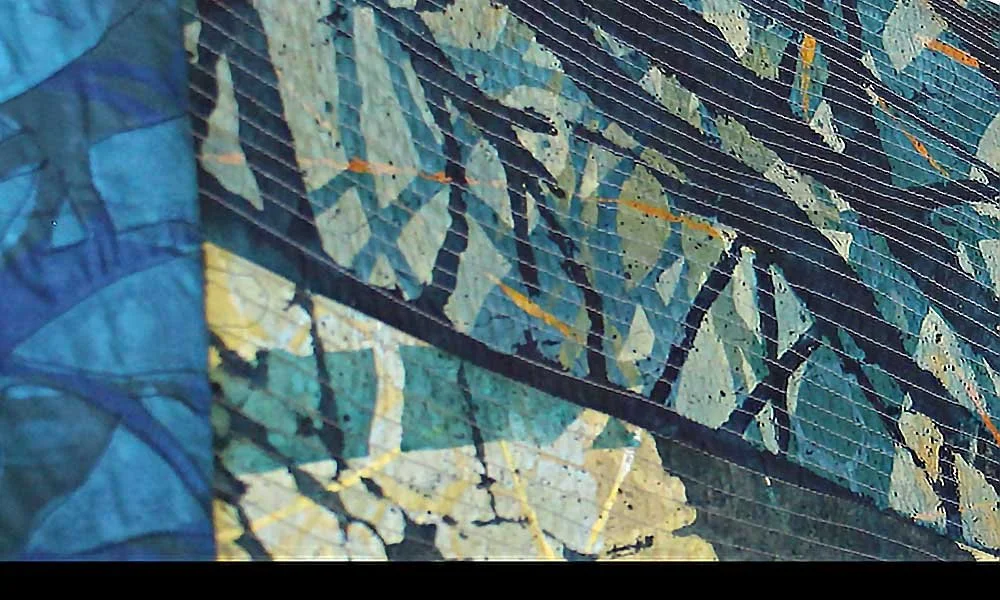
In most compositions, there will be an entry way into the image, some point where the viewer’s eye begins its journey through the work. In this quilt, I’ve added a single splash of burnt orange on the left edge to do that. The orange section leads to an energetic patch of bubbly circles.
I would not want the binding edge there to be a dark blue or teal to match the rest of the quilt. It would chop into the entry of the burnt orange. So, I pieced the binding strip with a section of burnt orange. This will allow that little splash of color to go off the edge without interruption. I change the color of the binding as it butts up next to different colors in the quilt.
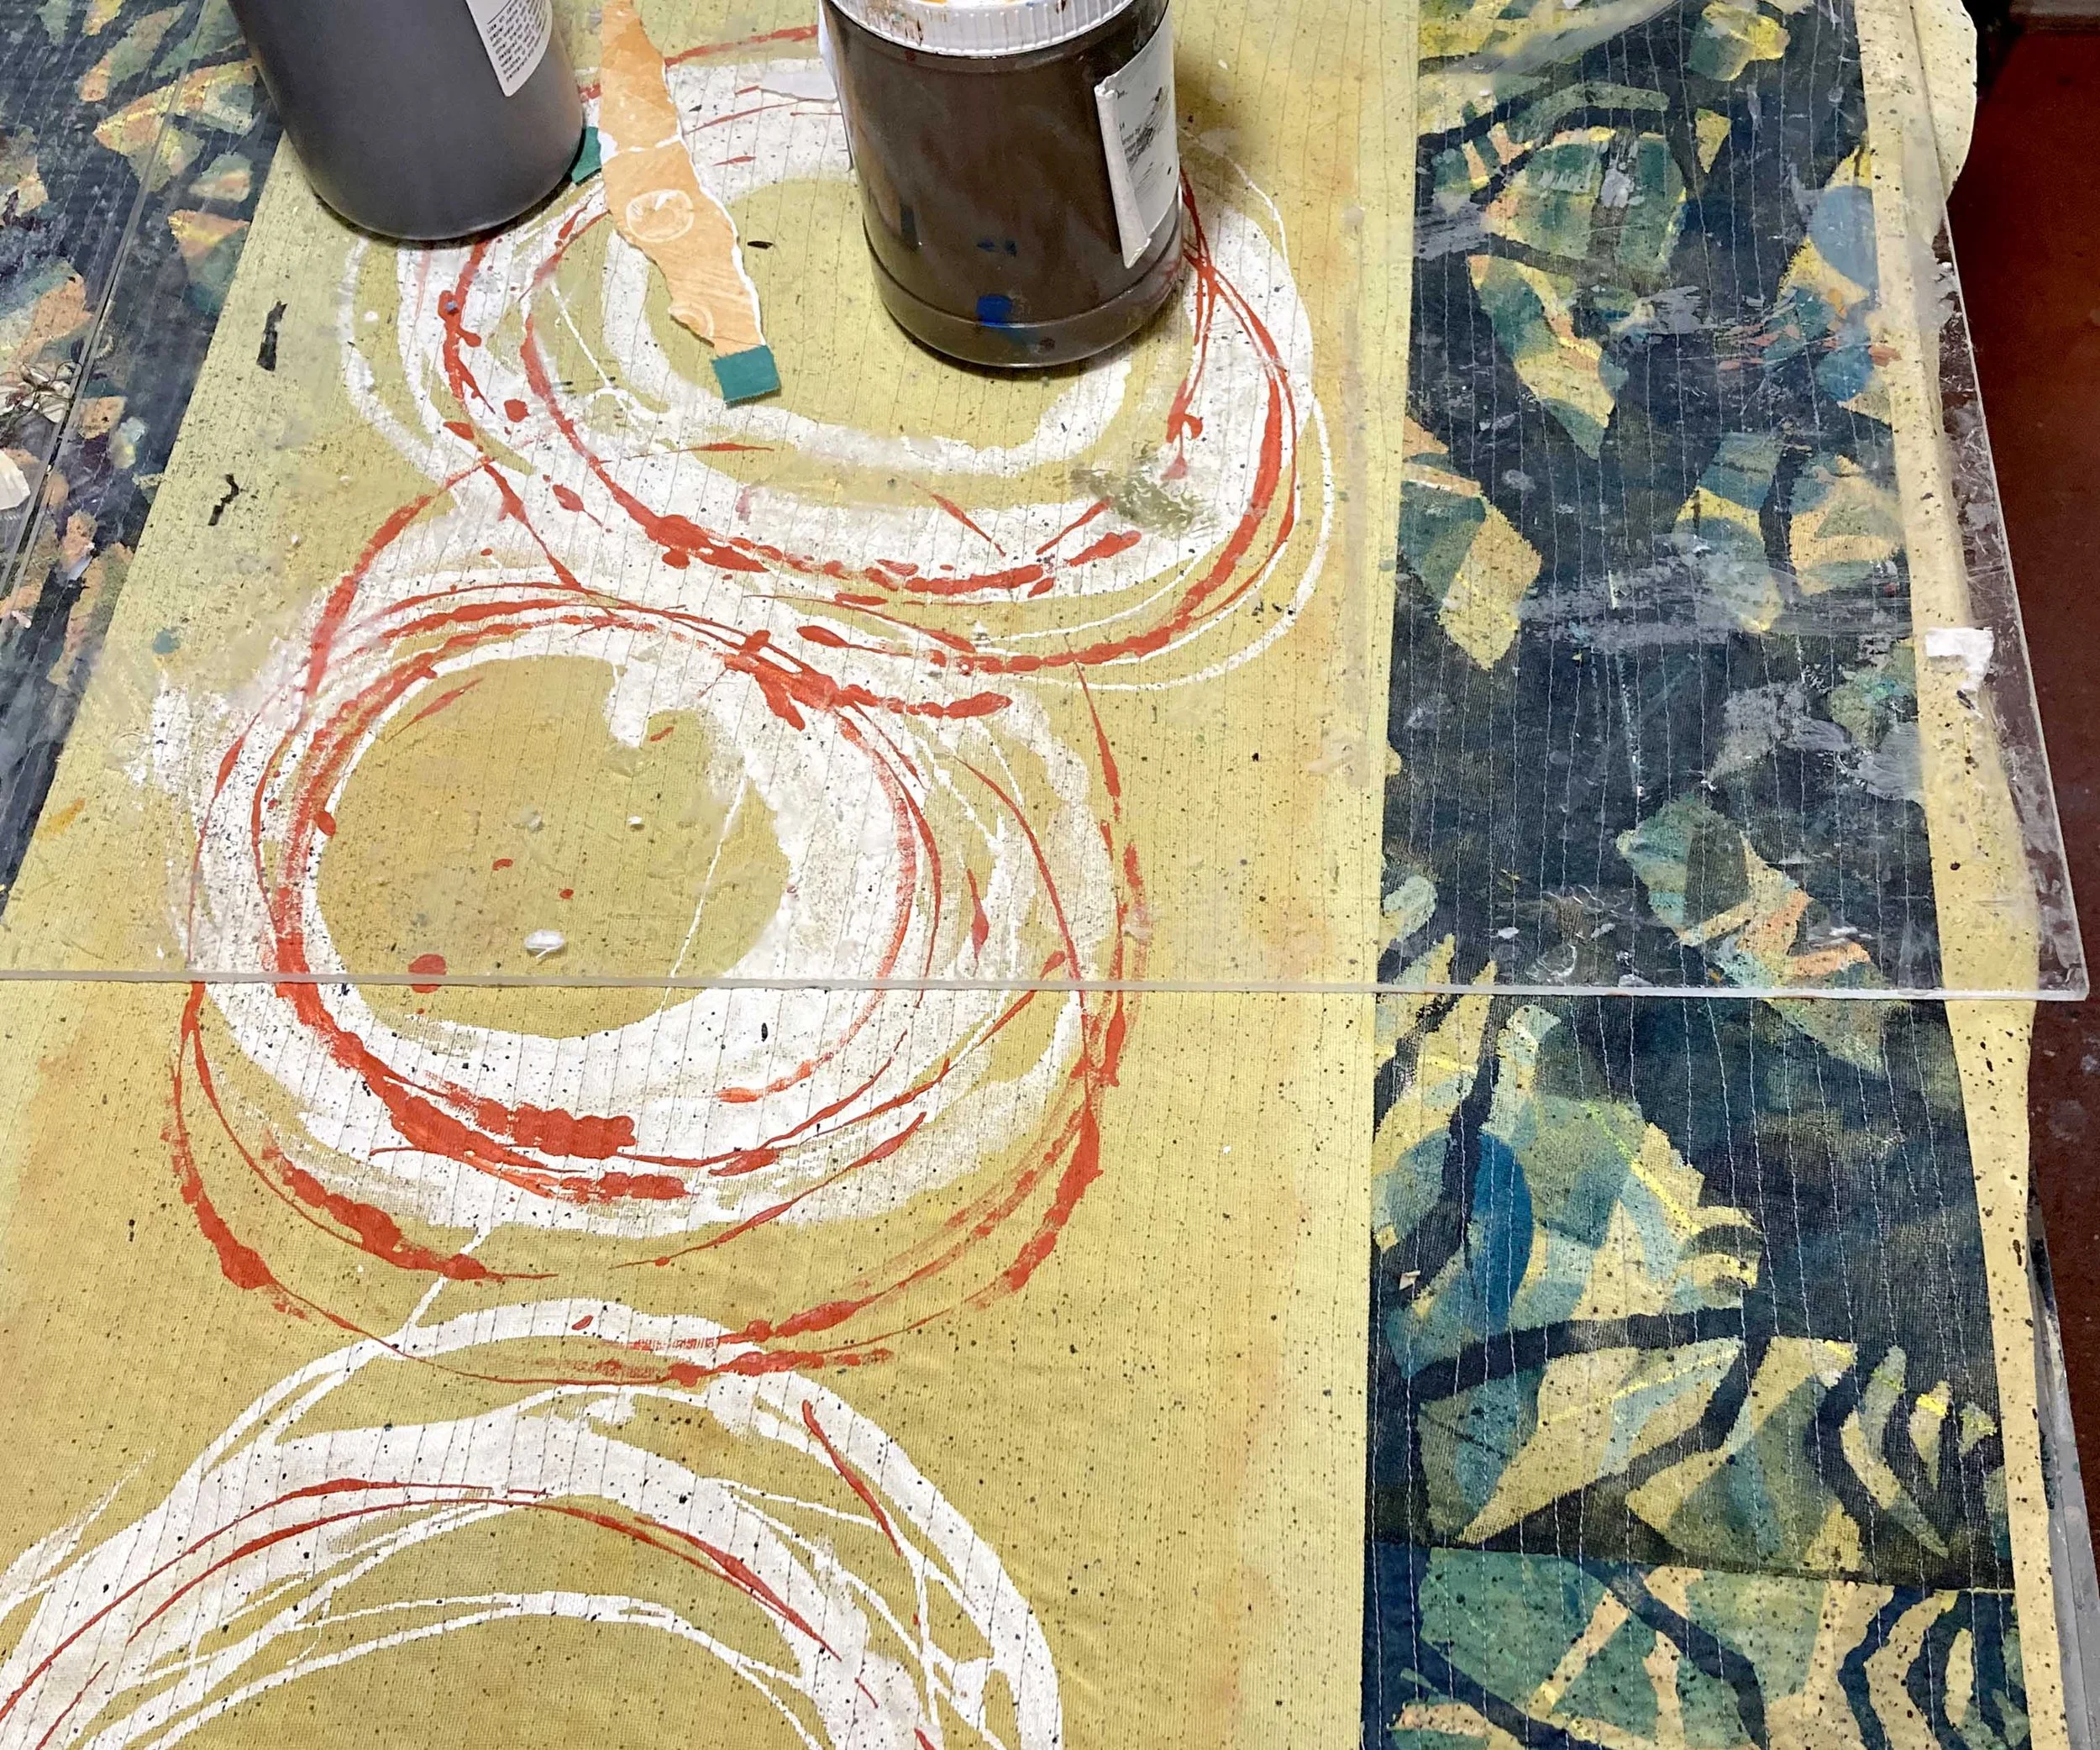
Here’s a look at the right side. I’ve used a lighter ochre spattered with dark blue. (I painted this to match the background of the tree section it’s next to.) The dark teal binding on the left will merge into this lighter binding about halfway around the quilt.
I use these small touches to contribute to a progression from deeper to more light-filled printed sections as the viewer’s eye progresses through the quilt.
Also shown above is the quilt being weighted down for the glue on the back side to dry without buckling the quilt. (Acrylic glue is how I attach the felt backing to the finished quilt.)
And now for a scene never-before-revealed-on-my-blog: Here’s my scenic laundry room and ironing board. It’s right next to my studio.
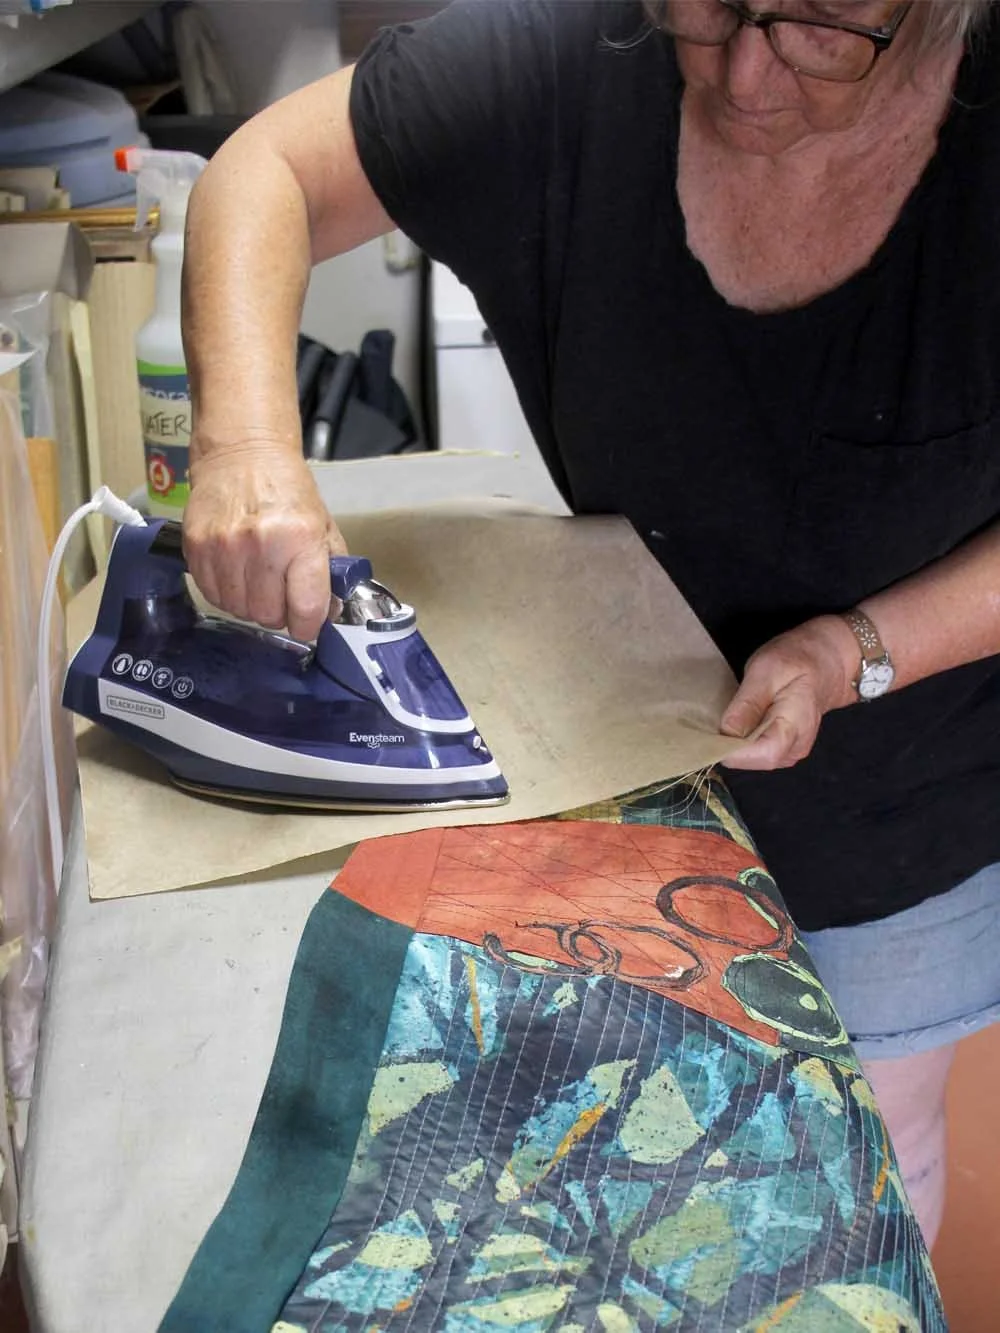
I’m pressing the binding in place after stitching it on. What I wanted share about this is a bit of insight into pressing fabric that’s been painted with acrylics. No problem. Works fine. Just be sure to use a Teflon pressing sheet so the paint doesn’t stick to your iron.
For all the artmakers: Happy creating
For all the art lovers: Happy appreciating
Thank you for reading. I always enjoy questions and comments.
--Bobbi
How I keep in touch:
BLOG POSTS - once a week: Mostly about what I am creating in the studio. If you would enjoy receiving blog posts by e-mail, please subscribe here: I post and send by e-mail each Sunday evening. BLOGS-BY-EMAIL
NEWSLETTER – about once a month: Mostly news of exhibits and my way of introducing new work. You’ll get FIRST LOOKS at new artwork and members-only discounts. You’ll hear from me about once a month. NEWSLETTER