I’ve been experimenting this week with seeing possibilities. It involves a painted fabric panel I created that I really don’t like very much.
This is part of my on-going project, which will probably stretch through the summer, of working out possibilities and variations using patterns of tree limbs.

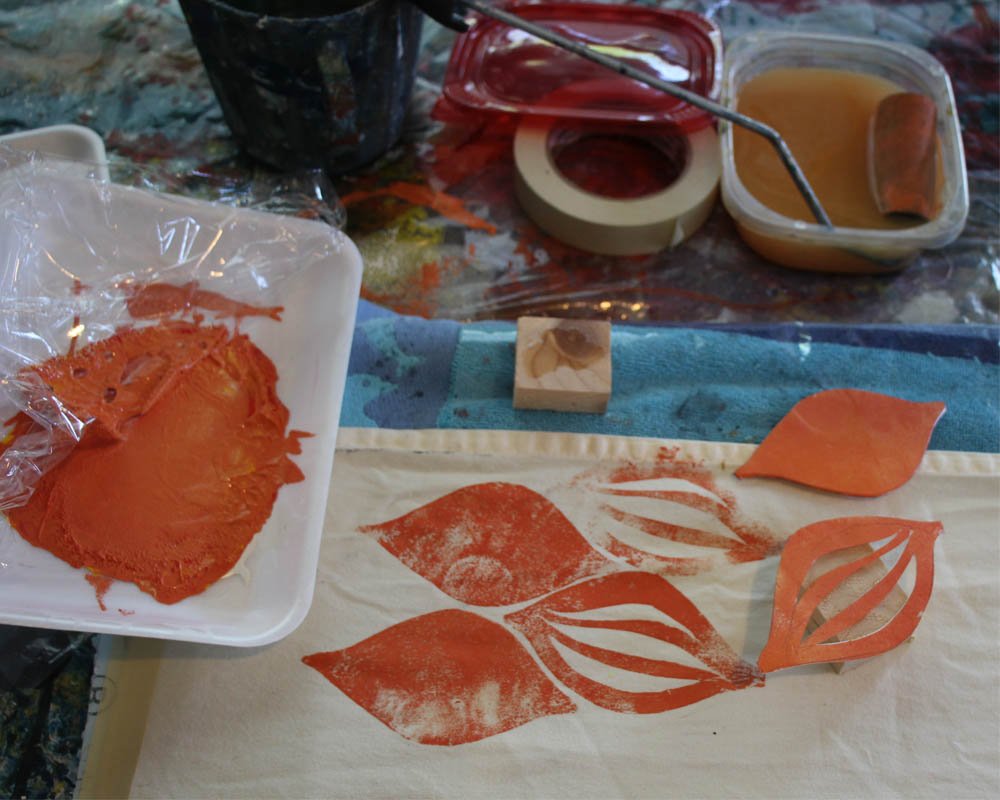
A few weeks ago I painted a batch of fabrics. I like these colors and I like them together. Now I’m experimenting.
One of the basic questions about the patterns I’m developing: Do they work better light-on-dark or dark-on-light? I’m doing some of each.
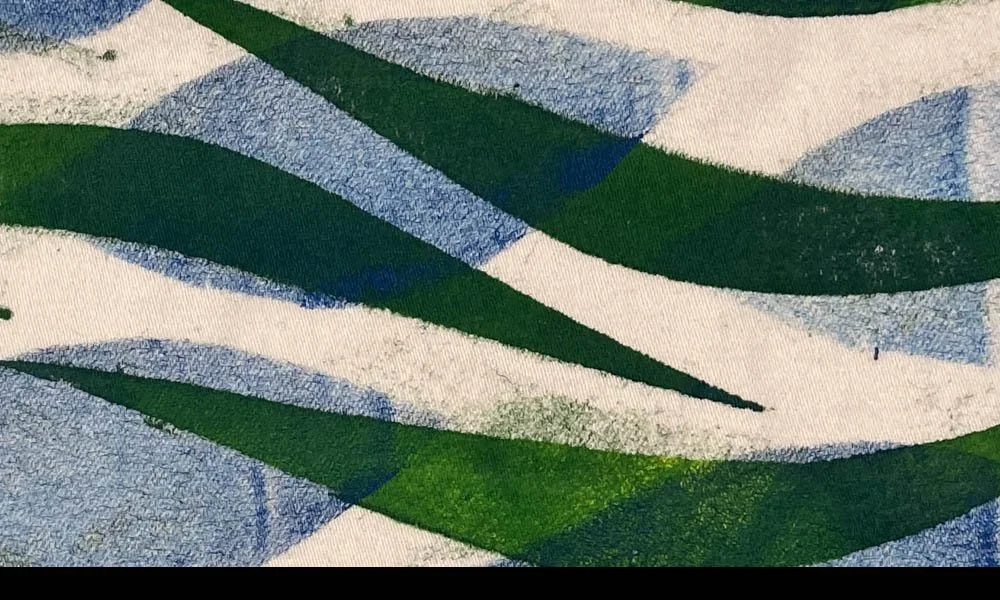
Here’s a panel I created this week using light-on-dark, and next to it a contrasting pattern.

How do I feel about this?
I like the section at the bottom created in yellow-ochre and black.
I think the limbs of the top section work, in the sense that they show up against the dark background and I can tell what they are. (This was not the case at first. I had such strong color patterns in the limbs that the eye just couldn’t make out the tree limbs.) I cured that issue with a wash of burnt sienna inside the limbs, and a little watercolor wash shading on the limb edges.
But this palette just does not appeal to me. It’s too hot.
To see if there might be life in this project, I decided to play with it in PhotoShop: to cut it up and mix it with other things. (Note to artmakers without graphics software or know-how: you can do this exact same process by printing out a picture of your fabric, then cutting out squares and rectangles of construction paper or fabric and moving them all around. It works just fine as a way to experiment.)
I enjoyed creating some larger compositions using what I made:


The new blocks I added to my painted panel could be solids, or they could be subtle patterns that function as solids. And stitched patterns might go through these new blocks to connect them with the patterns in the painted panel.
If you create something that just doesn’t appeal to you, don’t give up. You may end up chucking it. Or you may be able to use it as a jumping off point for something completely unexpected.
Lots of possibilities.
….
I am going to digress from artmaking for a bit now. Forgive me. I have been grieving this week and have thoughts I just need to share.
From my heart this Memorial Day weekend:
Tomorrow is the day set aside to remember American soldiers who have died in war. As I deal with feeling both despondent and angry about the current US President, I find myself becoming increasingly patriotic. It takes the form of longing for, and mourning the loss of, ideals I have always believed to be the foundation of my country.
And then this week the loss became personal. In the kindergarten class where I volunteer, I was told one of the students would not be back to finish the school year. He is a sweet, hard-working boy. He writes his letters beautifully. He loves to draw. Though he speaks very little English, he has learned almost all of the eighty sight words kindergarteners are supposed to learn by year’s end.
He is gone because his family is afraid. They were afraid to show up at school anymore to bring him, fearing deportation. They told my classroom teacher they were leaving the state. They would not say more. They are living in fear. And this sweet, wonderful boy whom I have hugged and laughed with is who-knows-where, living in fear.
There is no possible vision of our country that makes us better by doing this. This is not what soldiers have died to protect.
It’s going to get worse. In the budget bill passed by Congress this week:
“The measure roughly doubles the current annual budgets of Customs and Border Protection and Immigration and Customs Enforcement (ICE) in what Aaron Reichlin-Melnick of the American Immigration Council notes is “the single biggest increase in funding to immigration enforcement in the history of the United States.” It increases ICE’s detention budget from $3.4 billion a year to $45 billion through September 2029, a staggering 365% increase on an annual basis that would permit ICE to detain at least 100,000 people at a time.
It increases ICE’s budget for transportation and removal operations by 500%, from the current $721 million to $14.4 billion. It also calls for $46.5 billion for construction of barriers at the border, including completing 701 miles of wall, 900 miles of river barriers, and 629 miles of secondary barriers, and replacement of 141 miles of vehicle and pedestrian barriers.” It calls for $45 billion for adult and family detention, enough to detain at least 100,000 people at a time.”
It is tempting to hide in my studio. While that helps me to stay sane, it won’t help my little kindergarten friend.
Thank you for listening.
(quoted text is from the May 23 “letters from an American” by historian Heather Cox Richardson. Her daily emails are carefully documented, footnoted to her primary sources of information and data.)