Last week I wrote about a number of projects in the studio that were in their very early stages. Envisioning required.
This week I worked on one of them to bring it along through the next stages.
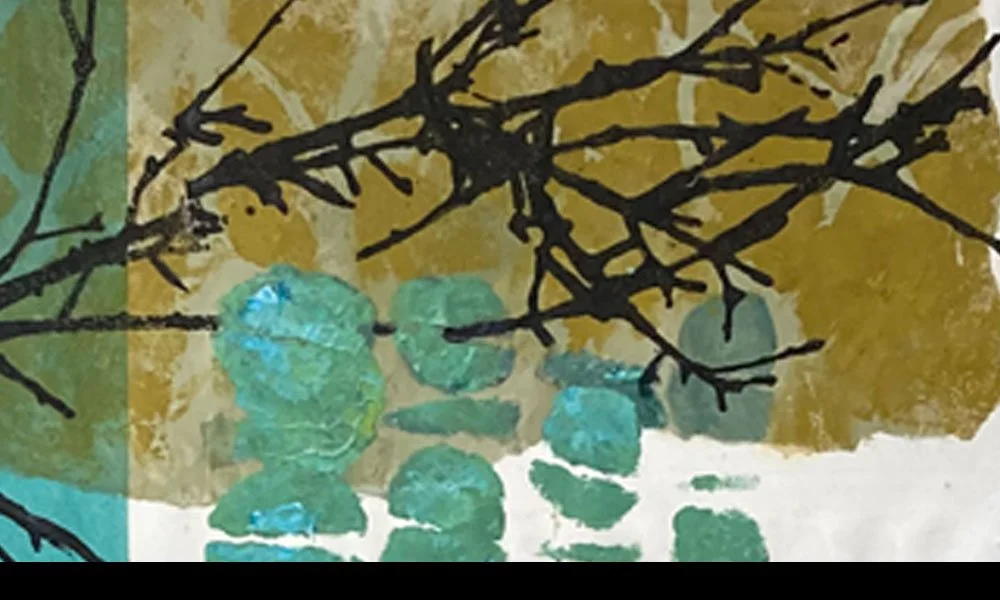
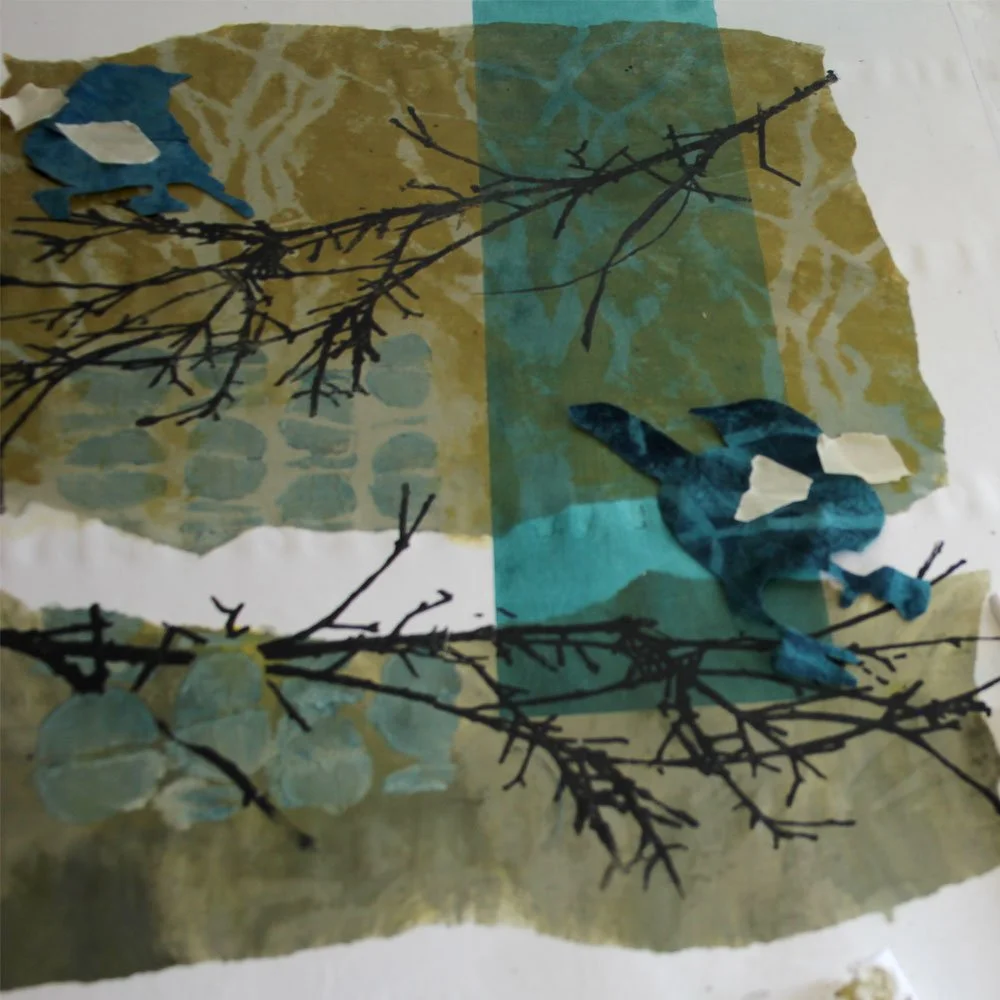
Here’s where I started: The background:
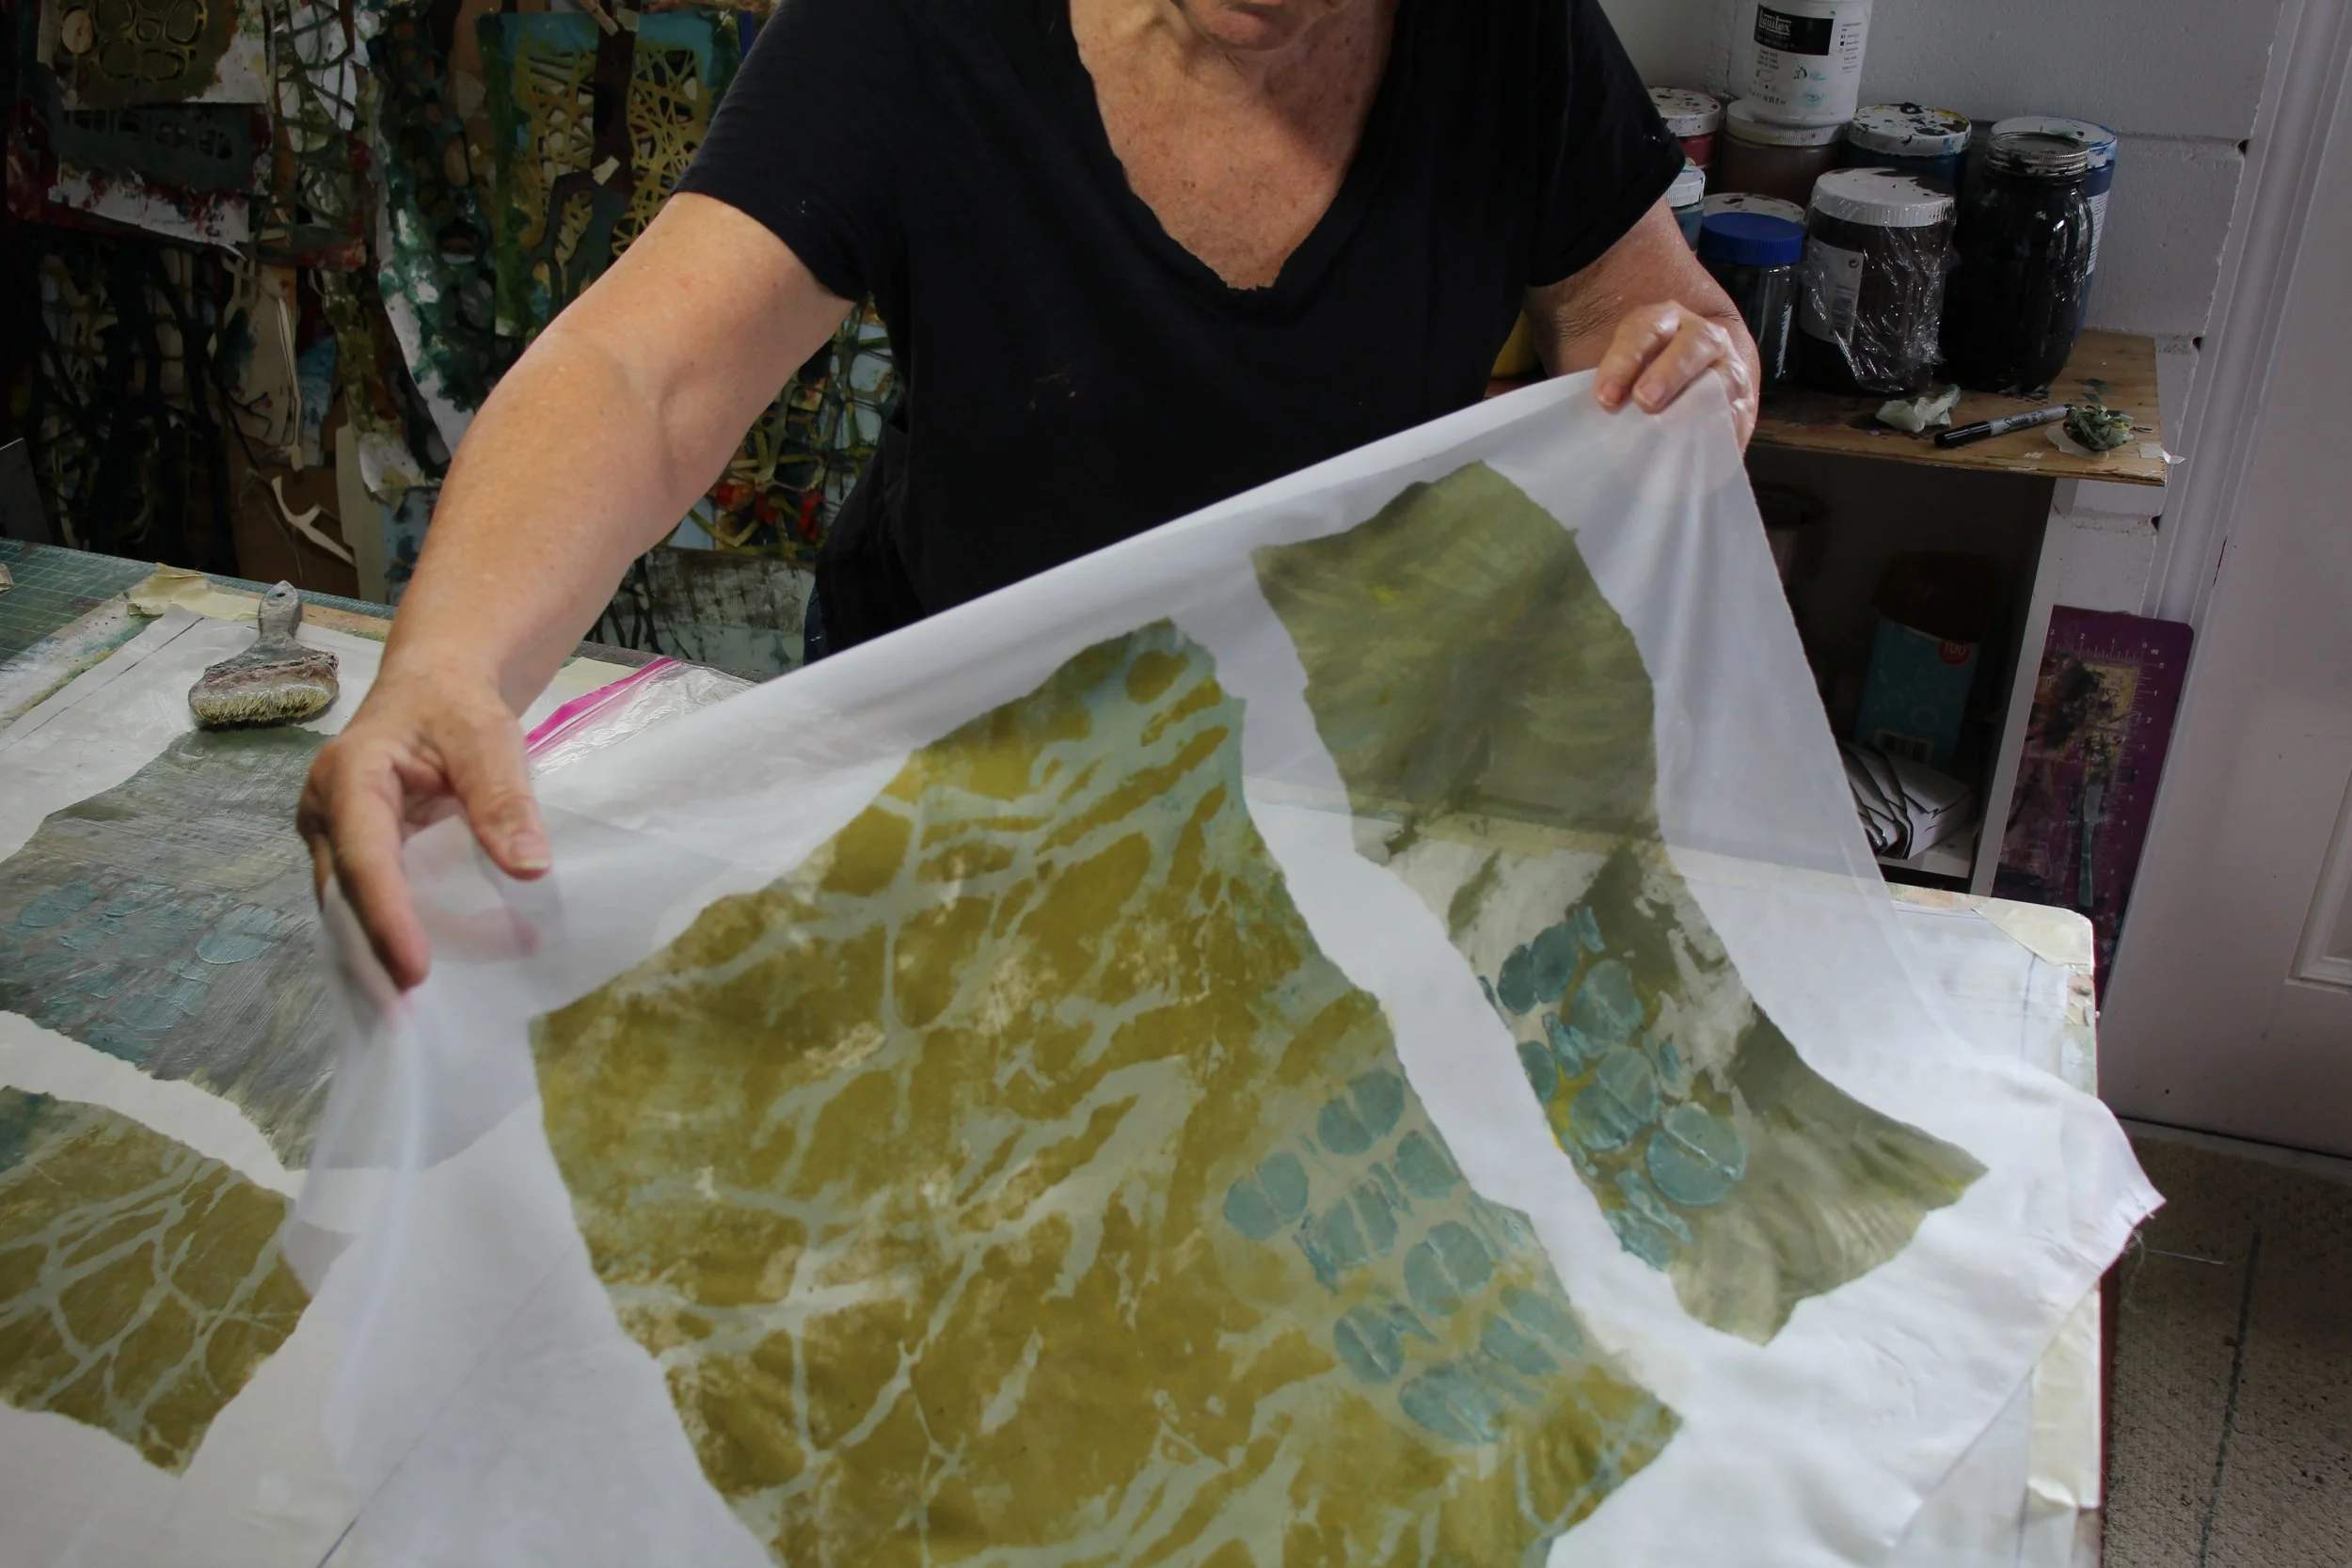
I had painted these in very neutral colors, marked off with torn paper edges and stenciled tree shapes. After looking at these for a bit, I determined that I wanted both more color and more things happening. So I am developing these as bird environments, maintaining the fairly abstract background.
SCREEN-PRINTING: FOR SOME DETAIL
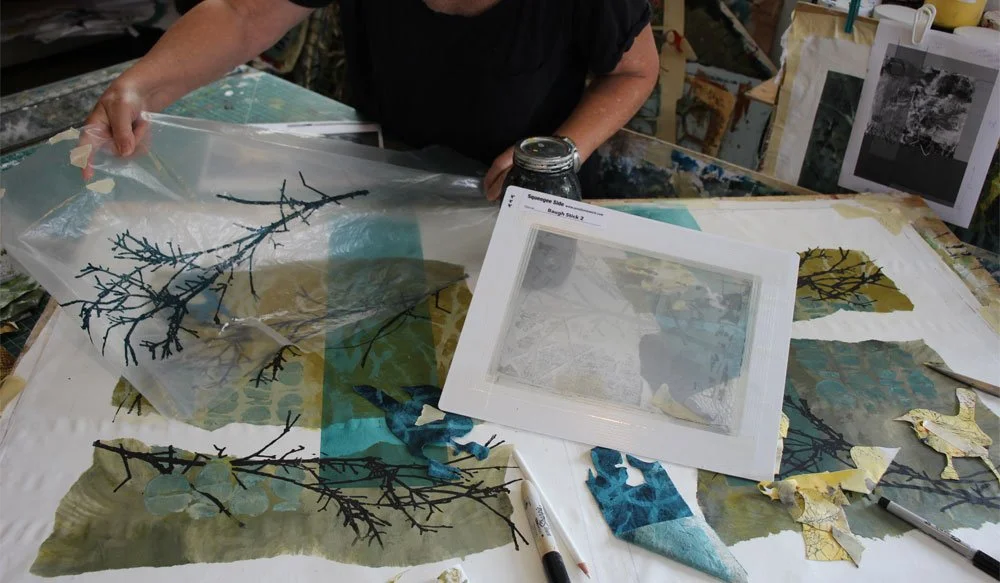
To contrast with the undefined shapes and neutral color of the background I decided to try out a new silkscreen I recently had made. It depicts a stick that was in my driveway:
The full width of this stick image is about 20”. This means I had to order it in two pieces (the screens I use are about 8” x 10”.) My first print with the screen was onto a piece of clear vinyl. I will use this to move around my composition to find out where I want the stick to print. It’s easy to see through the vinyl and easy to reposition it. When I get it in the right place, I place the screen on top, make tape marks for the corners so I can put it back down in the right place, then pull out the vinyl.

You can see that I am working on two pieces side-by-side, each taped to the same working board. So, I am also screen printing the two at the same time, one then the other with that particular screen. The prep work keeps me organized and makes my screen use efficient: Determine placement for the image on each work. Print artwork no. 1. Quickly reposition the screen to artwork no. 2. Print artwork 2. Then quickly outside to the hose for screen washup. The acrylic dries fast and prompt cleanup is really important.
THE BIRDS: FOR SOME STORY
I have been collecting images I discover of birds that are particularly interesting, with nice little tilts to their heads and interesting leg positions. I cut stencils of these out of cardstock.
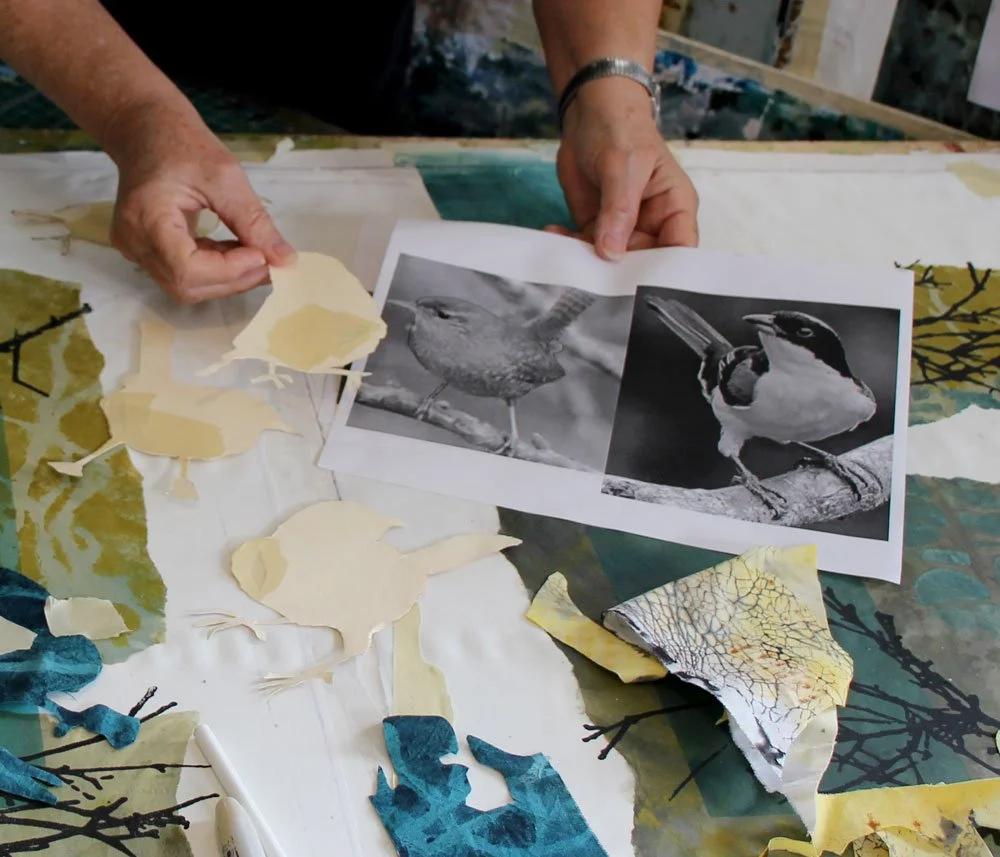
A stencil can be used lots of ways. For this project I am using them as patterns to trace. I will cut the birds out of fabric and position them on the developing picture.
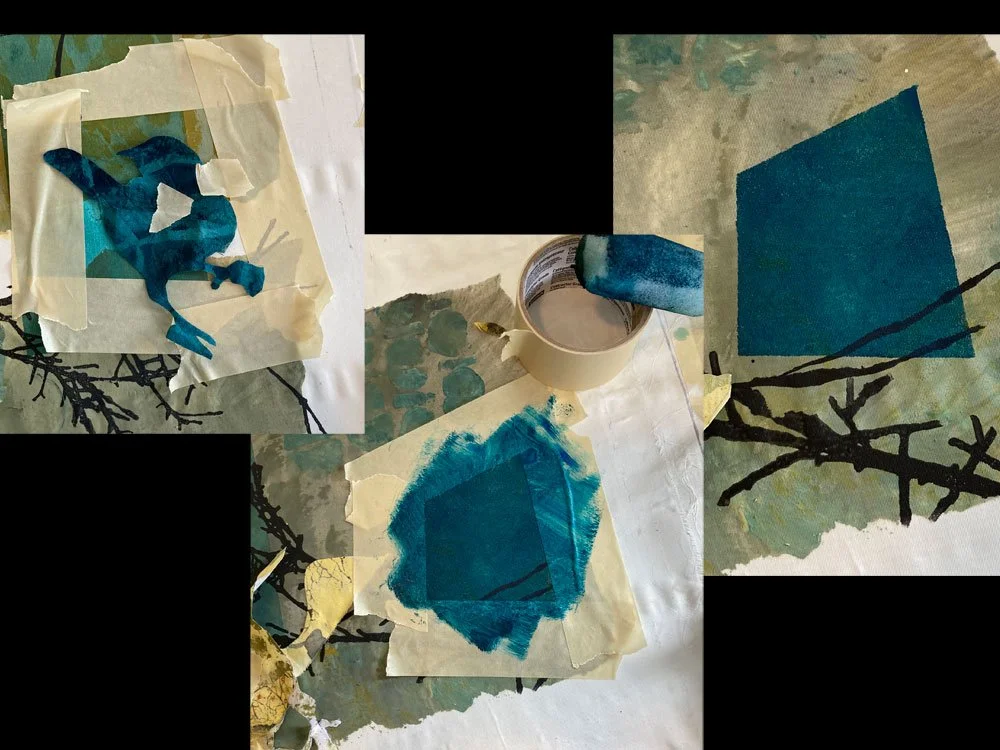
So that the birds don’t disappear into the background, I’ve created a geometric shape behind each one in the complimentary color of the bird.
Mask out the shape to print – roll on a transparent paint with foam roller (makes a much smoother application than a brush) – pull off the tape and reveal.
Now I will collage the birds into the composition.
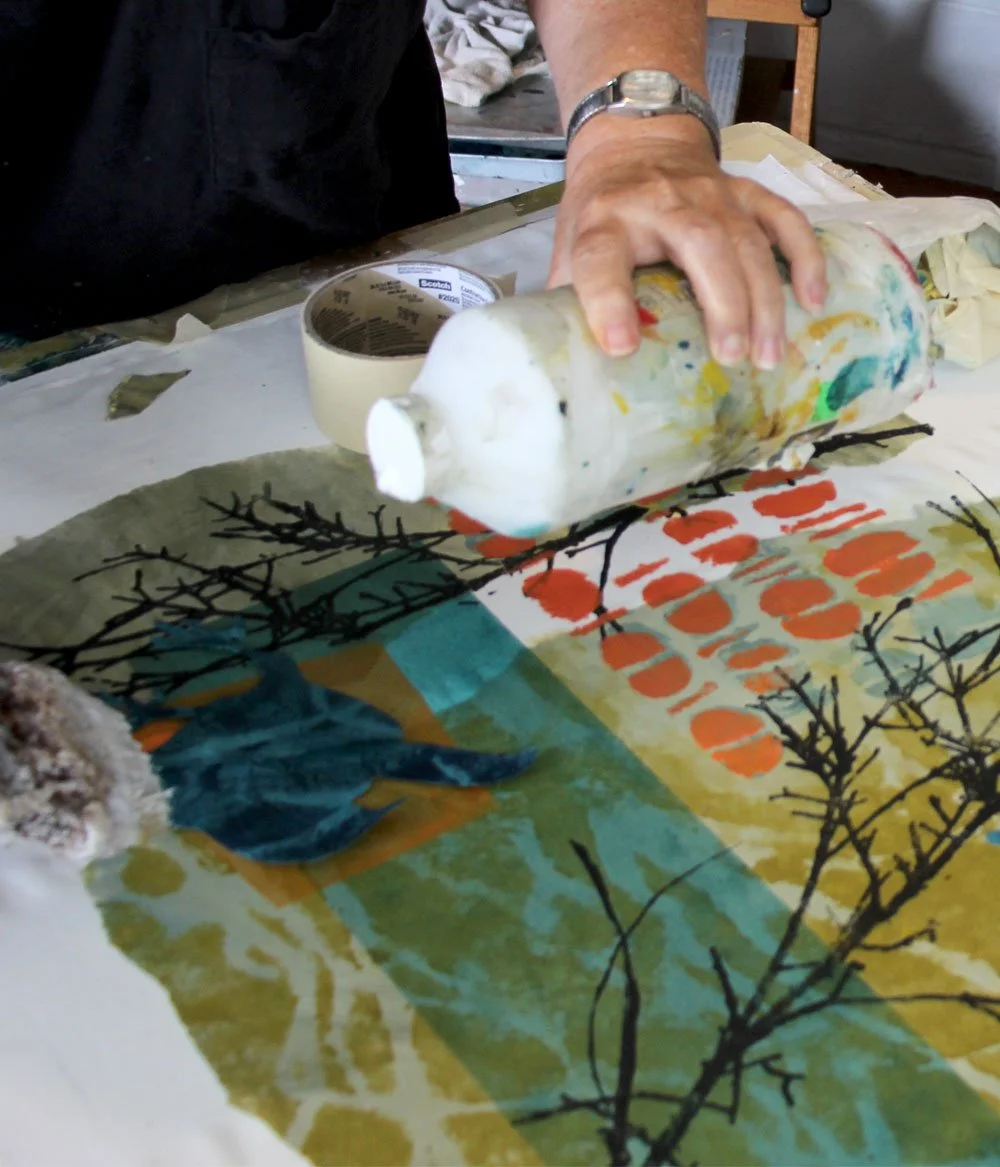
COLOR AND FINISHING
Lastly I sponge-painted a pattern onto each composition in a color variation of what I used for the geometric shape. This surface is not done, but the parts are beginning to come together.
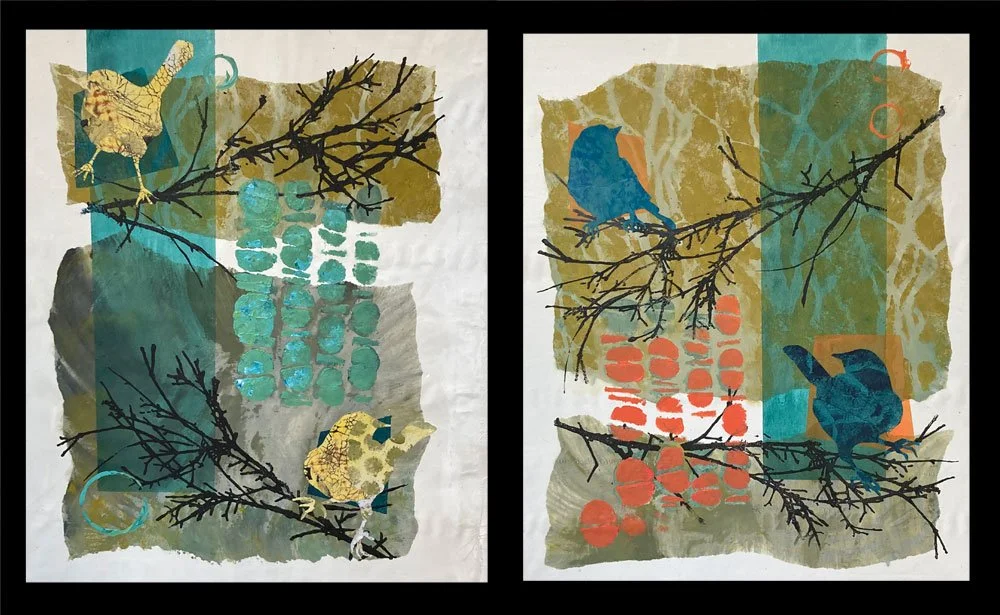
Next... I am not sure how I will proceed. I know I want to add stitching to each piece to create a loose hand-drawn look around the birds and the color patterns. I’d like to add a bit more depth. Maybe these will be paper mounted, and maybe I’ll add more fabric patterns top and bottom for a quilt finish.
For a day or two, I may just set these aside and let the ideas bubble up. That’s almost always a good next step.
For all the artmakers: Happy creating
For all the art lovers: Happy appreciating
Thank you for reading. I always enjoy questions and comments.
--Bobbi
How I keep in touch:
BLOG POSTS - once a week: Mostly about what I am creating in the studio. If you would enjoy receiving blog posts by e-mail, please subscribe here: I post and send by e-mail each Sunday evening. BLOGS-BY-EMAIL
NEWSLETTER – about once a month: Mostly news of exhibits and my way of introducing new work. You’ll get FIRST LOOKS at new artwork and members-only discounts. You’ll hear from me about once a month. NEWSLETTER