Trees came to life on my worktable this morning.
Some time spent screen printing yielded images I can use – and a successful experiment.
Here I am getting everything ready.

A few things to note in this picture:
Masking tape: I have the fabrics I am going to print taped down to a surface. You don’t want them to slip and slide once you begin.
Which side is up? It’s easy to make the mistake of printing the screen with the wrong side down. Yes – this is experience talking here.
For many images, like these trees, either side will work. (More detailed images, or images containing text that has to be right-reading have to print from only one side of the screen.) But the appearance of the image in one direction, as opposed to its mirror image, may be the one you have in mind
Clean up tray always ready: If you are printing with acrylic paints (that’s what I use) you need to be ready to clean out your screen right away. A shallow tray like the white plastic one in my picture is very handy. Right after I print, I plop the screen in the tray, then walk out my studio door to the garden hose for wash-out. It helps to keep the tray behind the screen when cleaning it out so the screen stays flat and a strong whoosh of water won’t damage it. Be nice to your screens.

Positive or negative? I had this same image made as a positive (I print the shape of the limbs) and as a negative (I print the background around the trees and the limbs appear as the fabric color.) The two screens look very much alike. I mark mine positive and negative so I don’t get mixed up. Yes – more voice of experience here.

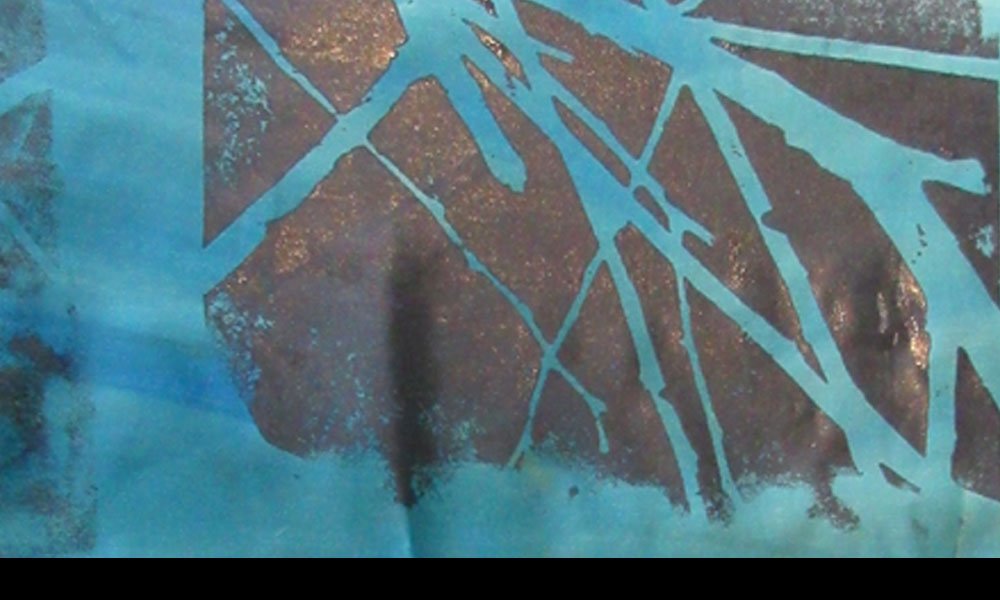
Here is some hand-painted fabric printed with both the positive and the negative image. I like the way they work together and will probably use these side-by-side in the finished project.

Here is a small piece I created with a specific placement in mind. It will go into a collage-in-progress. I wanted the tree limbs to cross over different fabrics, as a way to unify those fabric backgrounds. And, on the right where the limbs are printed on the grey sheet, I will be cutting out those limbs manually and collaging them into position. So, one hit of the screen will now go across three different backgrounds.
And here is my experiment:

I am going to be working on a series of wall pieces in which I want to create variations-on-a-theme with a larger tree image. This one is about 18”H. But that height exceeds the image area of the screen. So, I created my image in sections and broke it into 5 different screens. To print one tree, I print with the 5 screens, one at a time, lining them up by eye.
You can see a dividing line through the limbs where sections met. In many works, this would just add a little interest to the tree. (I might even line them up a bit “off” sometimes just for interest.) But, If I want a more realistic look without gaps, I can touch up the gaps by hand with paint.
And now to meet an old friend.

Here is my new printed image next to a hand-cut card stock stencil from my stencil collection. I have used it many times. The character of the tree shape is quite different from the new tree. But I’m anxious to experiment with using them together. I can envision the stencil tree used as a resist, with a loose sponge painting in muted grey tones as a background to the new tree creating a foreground.
One more note: For artmakers who want to experiment, there are a number of places to purchase silkscreens with stock images on them, or commercially produced stencils. (Just do some googling.) But, I only use my own original images. The screens I use are from my original photos, and my stencils I design and cut by hand.
I’m looking forward to incorporating these pieces into some new projects.
For all the artmakers: Happy creating
For all the art lovers: Happy appreciating
Thank you for reading. I always enjoy questions and comments.
--Bobbi
How I keep in touch:
BLOG POSTS - once a week: Mostly about what I am creating in the studio. If you would enjoy receiving blog posts by e-mail, please subscribe here: I post and send by e-mail each Sunday evening. BLOGS-BY-EMAIL
NEWSLETTER – about once a month: Mostly news of exhibits and my way of introducing new work. You’ll get FIRST LOOKS at new artwork and members-only discounts. You’ll hear from me about once a month. NEWSLETTER